EVERMOTION 內部人員所寫的VRAY 1.5私密教程[1]VraySky and VraySun篇
作者:网友整理
秒传 1.51.11 46.39M / 简体中文
点击下载
Steel And Fleshv1.12.3 107.52M /
点击下载
PPT精品教程软件 1.21.7 559.55M / 简体中文
点击下载原作
I'm Tomasz Wyszolmirski, and I work in Evermotion as 3D artist. This time i Would like to present you new features of Vray 1.5
with some advices, tips and tutorials. So lets start. Below you can choose section that interest you.
我是Tomasz Wyszolmirski......我在Evermotion 3D艺术部门工作....这次我將给你们看有关VRAY 1.5新版本的一些项目..和一些建议,重点和教程

[1] VraySky and VraySun篇
內容还搭配说明VRAY相机操作
In Vray 1.5 you can find new map "vraysky" and new light "vraysun". This two things will make your rendering much easier. With this feature you will be able to set up reality exterior lighting. It also can be used in interior lighting.
I will explain how it works on one of building from archmodels vol.17.
在1.5版本,可以见到新的vraysky贴图模式和vraysun灯光..这两个东西可加快渲染工作
这项目...你能真实表现户外及室內的灯光
我將藉由archmodels vol.17的模型,来解释如何操作
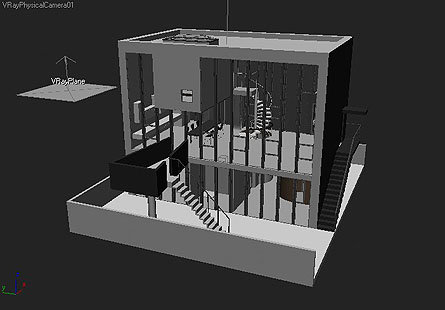
这是尚未打光的场景
Settig up of sky and sun is very easy. You just need to get new material - Vraysky in your material editor. (Just select one of the slots in material editor, use Material->Get material and select Vraysky).
Now create vraysun (you can find it in vray lights section), and put in the scene one vrayplane, so it will be our ground.
设定sky and sun 是非常简单,只需要设一个新材质Vraysky 在材编器编辑
再建立vraysun...並放上一个vrayplane当成敷地
In this step you must go to options of vraysky map, and turn on "manual sun node". And now you can select your sun node, just click on "None" button and point vraysun
在这步...你必需到vraysky map操作....並且打开manual sun node模式编辑
选则sun nod栏,按下none.....再去点选vraysun物件
Now go to rendering -> environment. Turn on Use Map in Background section and select map by clicking on button below. Now in Material/Map Browser select on the left Browse From: -> Scene, and there you can see created few whiles ago vraysky. So select it and in new pop up window choose instance.
现在再回到下拉式 rendering -> environment.....打开背景栏.將vraysky贴图..拖到材编器任一格
Next thing we need to do is to create vraycamera, this is very important, because without this type of camera we wouldn't get options like ISO, shutter speed, f-number.
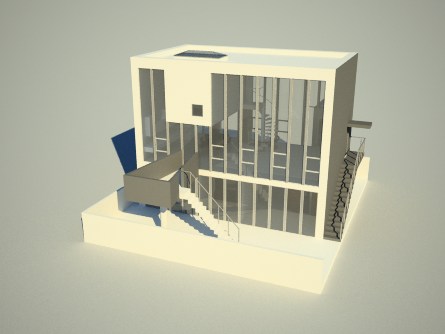
This is how the building looks from camera angle:
下一步...建立 vraycamera....这是非常重要..因为没有这种型式相机
我们不能操作像 ISO, shutter speed, f-number这些功能
这是如何建立相机角度

Now turn on GI, I wouldn't describe settings now, because it will be in other section, but in shortcut i used QMC + LC, and HSV exponential as color mapping type. Just look how it looks for now
现在打开GI....现在我不描述相关设定....因为在其它章节我会再说明
但在参数栏方面....我使用
QMC + LC
HSV exponential
As you can see this image is over brighted. All you need to correct it is to change camera settings. Set f-number on 7,0, shutter speed on 45, and film speed(ISO) on 50. And here we got
你可以看到上图这模型过亮...应该修正相机的设定
Set f-number on 7,0
shutter speed on 45
film speed(ISO) on 50

But look at it, its don't really this what we want. Now we need to do some adjustments. Change material to a bit darker. Now in vraysky, and vraysun change sun turbidity to 6, and sun ozone to 0,25. This is almost everything. Now we need to use an vray frame buffer for color and levels correction (it is described in vray frame buffer section).
看看上图...它並未达到我们想要的真实,现在,我们再做些调整...改变***LAN材质暗些
vraysun change sun turbidity to 6
sun ozone to 0,25
再使用vray frame buffer 做色阶调整(它能在VRAY 炫染框被发现)
调整下曲线
再调下
加载全部内容


