Photoshop滤镜特效范例06
作者:网友整理
Photoshop Expressv6.16.603 108.62M / 简体中文
点击下载
Adobe Photoshop Mix手机版v1.9.512 87.14M / 简体中文
点击下载
Photoshop安卓版(手机图像处理软件) v2.8.500 免费版 74.55M / 中文版
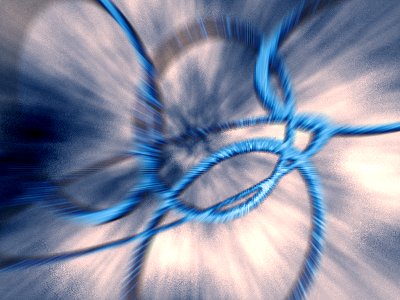
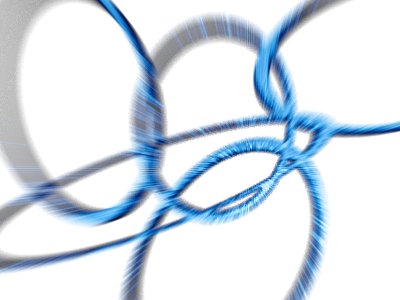
点击下载先看效果:
[page]
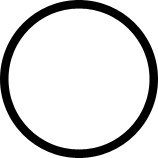
1、新建图像,用形状工具中的椭圆工具,绘制一个圆环,即一个大圆中间减去一个小圆,如下图。注意必须以矢量格式绘制。有关路径绘制的教程可参看章节#12。
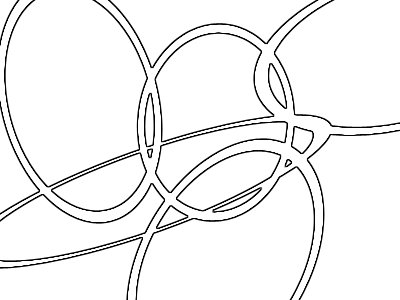
2、多次复制圆环路径,移动到任意位置,并分别指定不同的变换,每一组圆环的变换完成后应将其组合,以免运算方式对其他圆环造成影响。效果如下左图。图层调板如下中图。对矢量形状图层执行【图层_栅格化_形状】,然后使用【滤镜_风格化_查找边缘】,得到如下右图的效果。


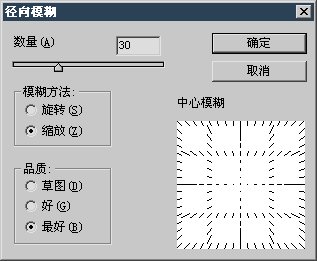
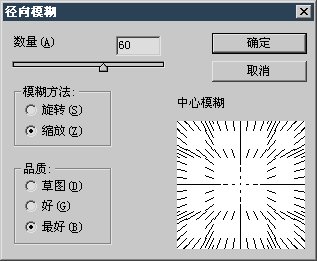
3、依次使用【滤镜_风格化_突出】、【滤镜_模糊_径向模糊】,设定分别如下2图。

[page]
4、使用【图像_调整_色彩平衡】〖CTRL_B〗或【图像_调整_色相饱和度】〖CTRL_U〗为灰度图像着色。
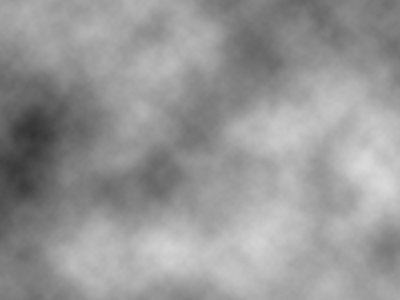
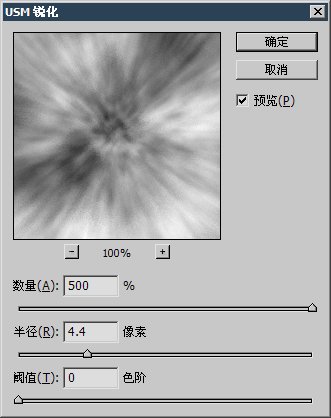
5、暂时隐藏圆环图层。使用默认颜色〖D〗,在背景图层上使用【滤镜_渲染_云彩】,得到类似下左图的效果。然后对其使用【滤镜_模糊_径向模糊】以及【滤镜_锐化_USM锐化】,分别如下中图和右图。
6、使用色彩平衡或色相饱和度为灰度图像着色对背景层着色。效果如下图。
总结:利用突出滤镜来营造立体感,但只对于较小的面积适用,如果在大范围内使用则立体效果不明显。这就是为什么将圆环转为线条的原因。背景的营造就是通常的云彩加工手法。用径向模糊营造放射感,再将其锐化以增加线条感。在为灰度 图像着色时,使用色彩平衡命令较为方便,因其调节更为细腻,且可以通过开启“保持亮度”的选项来营造过度曝光(即合并高光)的效果。如背景的云彩即是如此。但在对圆环调整的时候关闭了该选项,避免了圆环过度曝光。
加载全部内容