Photoshop制作中秋节大气完美金色火焰字
作者:网友整理
萌之墓地中秋正式版(隐藏英雄密码) v1.4 最新版 68.24M / 简体中文
点击下载
Adobe Photoshop直装专业版v4.52 安卓中文版 81.55M / 简体中文
点击下载
不朽火焰英雄v1.9.4 47.56M /
点击下载中秋节,又称月夕、八月节、追月节、玩月节、拜月节、女儿节或团圆节等多种叫法,是中国传统文化节日,所以也是商家广告宣传的黄金时期。下面为大家分享的这篇Photoshop制作中秋节大气完美金色火焰字的中秋节文字制作教程里面的文字效果非常漂亮,希望对大家有所帮助。
最后文字效果图:

1、新建一个1000 * 750像素,分辨率为72的画布,背景填充黑色。
新建一个组,保持图1到本机,文字为PNG格式,用PS打开,拖到新建的组里面,并调整好位置。按住Ctrl + 鼠标左键点击图层面板文字缩略图载入文字选区,如图2。

<图1>

<图2>
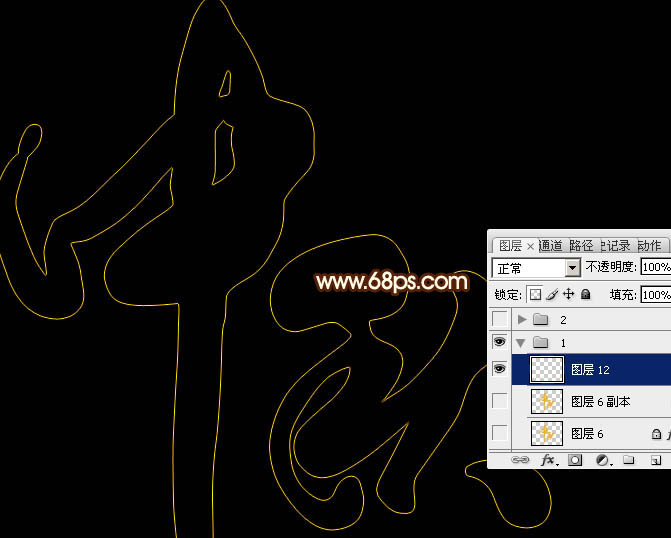
2、新建一个图层,选择菜单:编辑 > 描边,数值为1,颜色为黄色,确定后取消选区,再把原文字图层隐藏,效果如下图。
<图3>
3、文字边框有了,下面我们就沿着文字边线添加火焰素材。在图层的最上面新建一个组。
保持图4的大图到本机,用PS打开,拖到新建的组里面。

<图4 >
[page]
4、用套索工具选取下图所示的火焰部分,按Ctrl + J 复制到新的图层,混合模式改为“变亮”,再把原素材隐藏,效果如图6。

<图5>
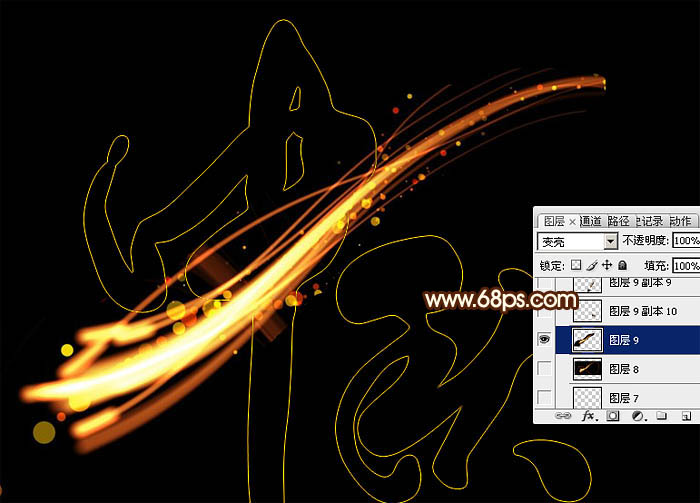
<图6>
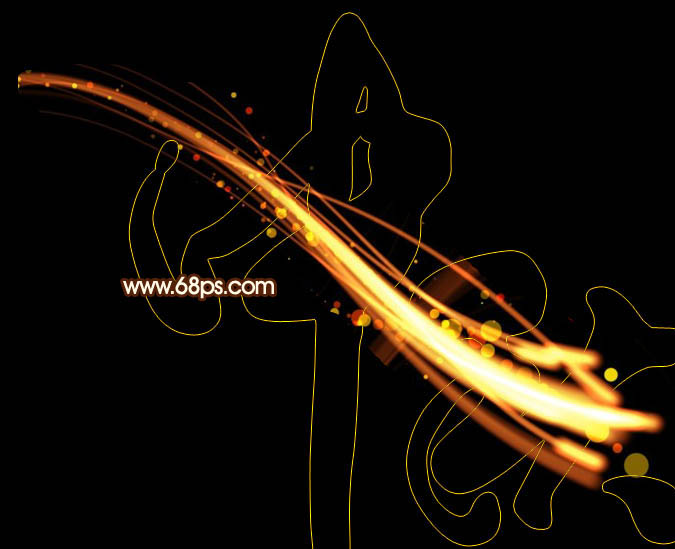
5、选择菜单:编辑 > 变换 > 水平翻转,效果如下图。
<图7>
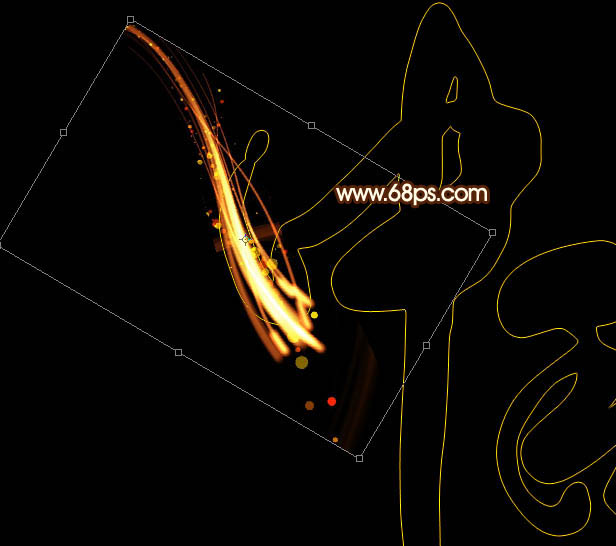
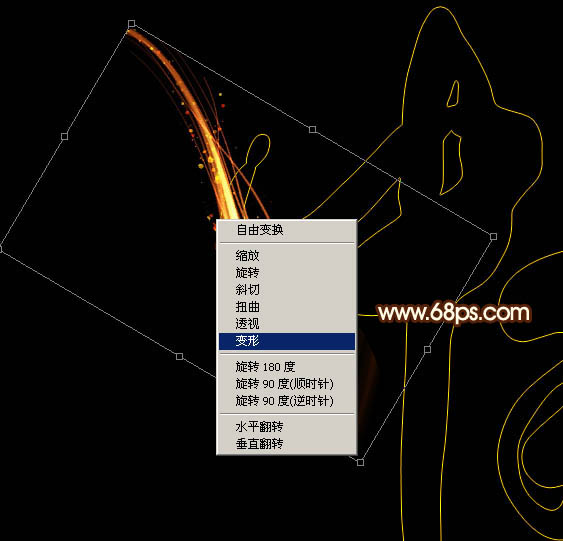
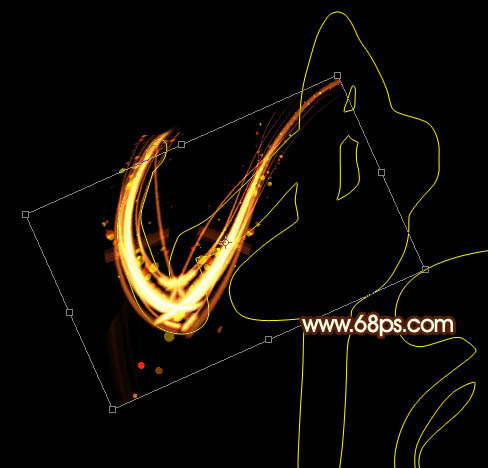
6、按Ctrl + T 变形,先移到文字左侧,稍微缩小一点,并调整一下角度,如图8。调整好后不要确定。
<图8>
[page]
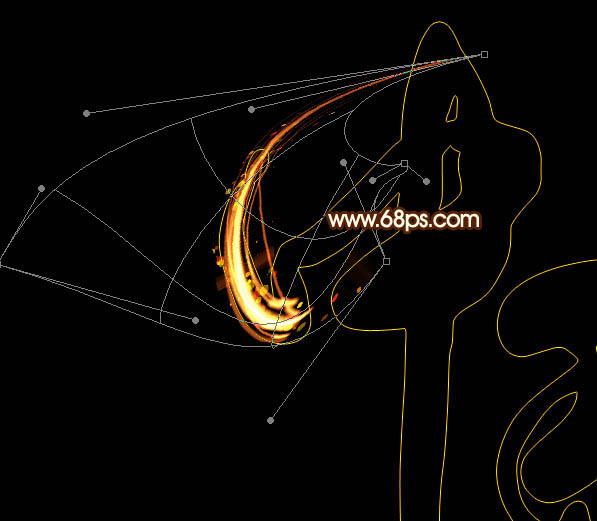
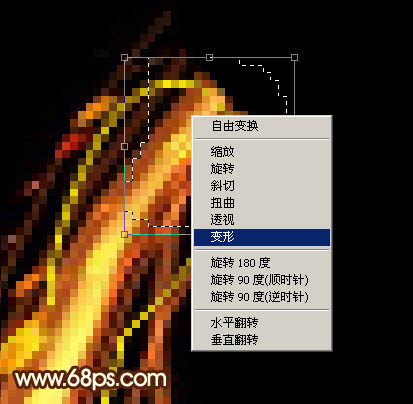
7、在变形框中间右键选择“变形”,如下图。
<图9>
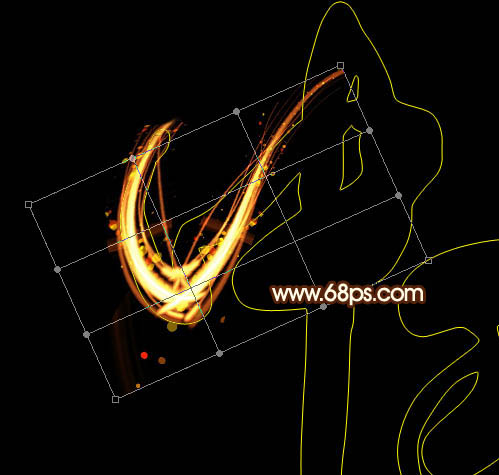
8、先调整顶部的节点,按照文字的笔刷调弯一点。

<图10>
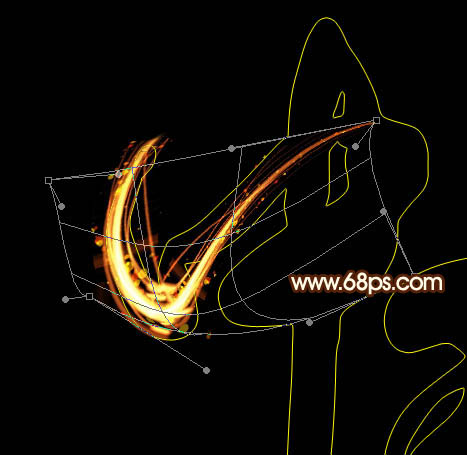
9、调节底部的节点,同样按照画笔走向调整,如图11,然后回车确定,效果如图12。
<图11>

<图12>
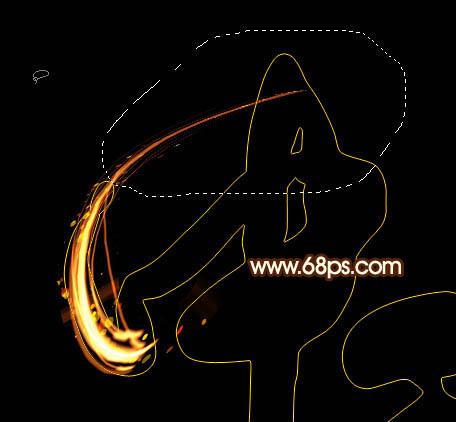
10、用套索工具选取超出的部分,按Delete键删除,然后取消选区。
<图13>

<图14>
[page]
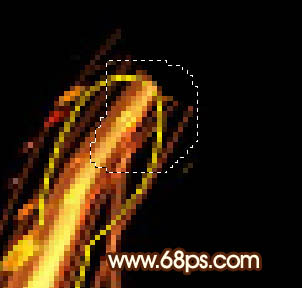
11、顶部的笔画还不够圆润,需要处理一下。用套索工具选取顶部的区域,如下图。
<图15>
12、按Ctrl + T 变形。

<图16>
13、在变形框里右键选择“变形”,如下图。
<图17>
14、调整节点,如图18,自己满意后回车确定,效果如图19。

<图18>

<图19>
15、回到原火焰素材,同样选取下图所示的火焰部分,按Ctrl + J 复制到新的图层,混合模式改为“变亮”,如下图。

<图20>
[page]
16、同上的方法对火焰进行变形处理,过程如图21 - 24。
<图21>
<图22>
<图23>

<图24>
17、再同样的方法制作下一个笔刷,如下图。

<图25>
18、打开第二张火焰素材,保持到本机,并用PS打开,拖进来。

<图26>
19、同上的方法做变形处理,效果如下图。
<图27>
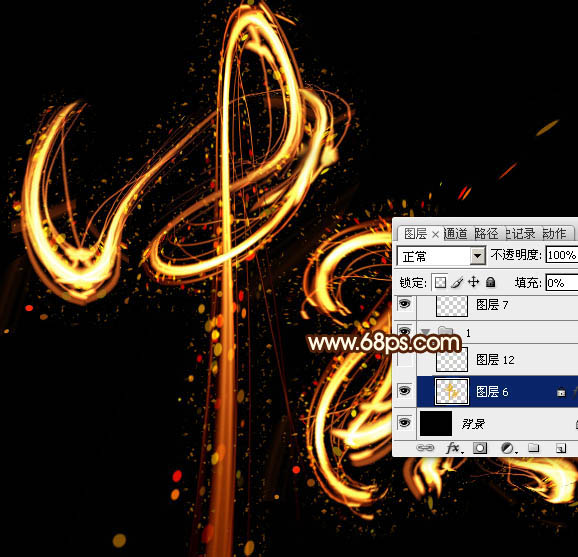
20、其它笔画的制作方法一样,效果如下图。

<图28>
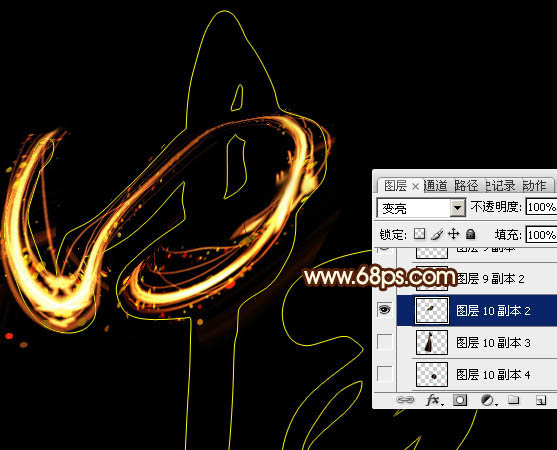
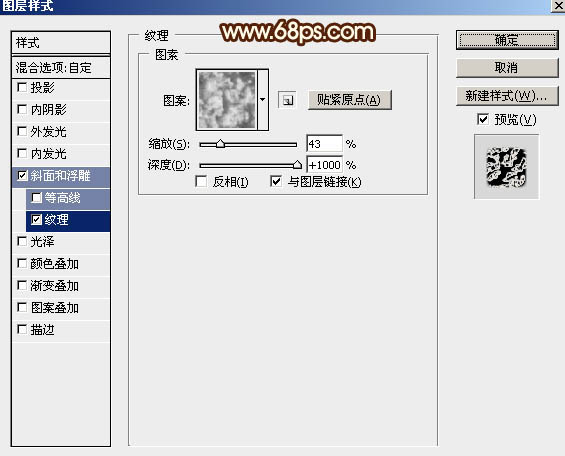
21、回到原文字图层,然后双击缩略图载入图层样式,设置斜面和浮雕,等高线,参数设置如图29,30,确定后把填充改为:0%,效果如图31。这一步给文字边缘增加小点。

<图29>
<图30>
<图31>
最后微调一下细节,金色大气的中秋火焰字就制作完毕了,这时大家可根据设计需要再添加一些其他效果进行创作。
完成后效果:
加载全部内容